How to Effectively Repair Your Asphalt Driveway
Confronted with an asphalt driveway full of cracks or potholes? Discover how to effectively repair these issues by yourself with our comprehensive guide. We’ll walk you through assessing the damage, cleaning up, getting hands-on with asphalt driveway repair, and maintaining it post-fix. Be ready for straightforward, no-nonsense instructions that pave the way to a durable driveway.
Key Takeaways
- Regular inspection of your asphalt driveway is crucial for early detection of wear and tear, preventing minor damages from escalating into major repairs and extending the driveway’s lifespan.
- Proper preparation for asphalt repairs involves thorough cleaning, removing oil stains, weeds, and debris, and ensuring the driveway is free from impurities to allow for effective adhesion of repair materials.
- Effective asphalt repair requires using high-quality materials for filling cracks and patching potholes, followed by sealcoating to protect against weather and wear while maintaining the driveway’s aesthetic appeal.
Evaluating Your Asphalt Driveway's Condition
The condition of your asphalt driveway is crucial for its durability and functionality. Regular examinations act like health check-ups for the pavement, allowing you to spot signs of deterioration early on. It’s important to be aware that shifts in season can adversely affect your asphalt. With winter chills and summer heat typically causing significant harm as you examine the state of your driveway.
As a witness to environmental effects, your driveway silently reveals stories about damage from ultraviolet light through its transformation from deep black to a faded gray hue, along with tales of wear indicated by emerging cracks and other forms of distress. Attending promptly to these warnings not only wards off more serious problems, but also enhances the financial efficiency of maintaining it—thereby prolonging the operational life span of your driveway’s pavement.
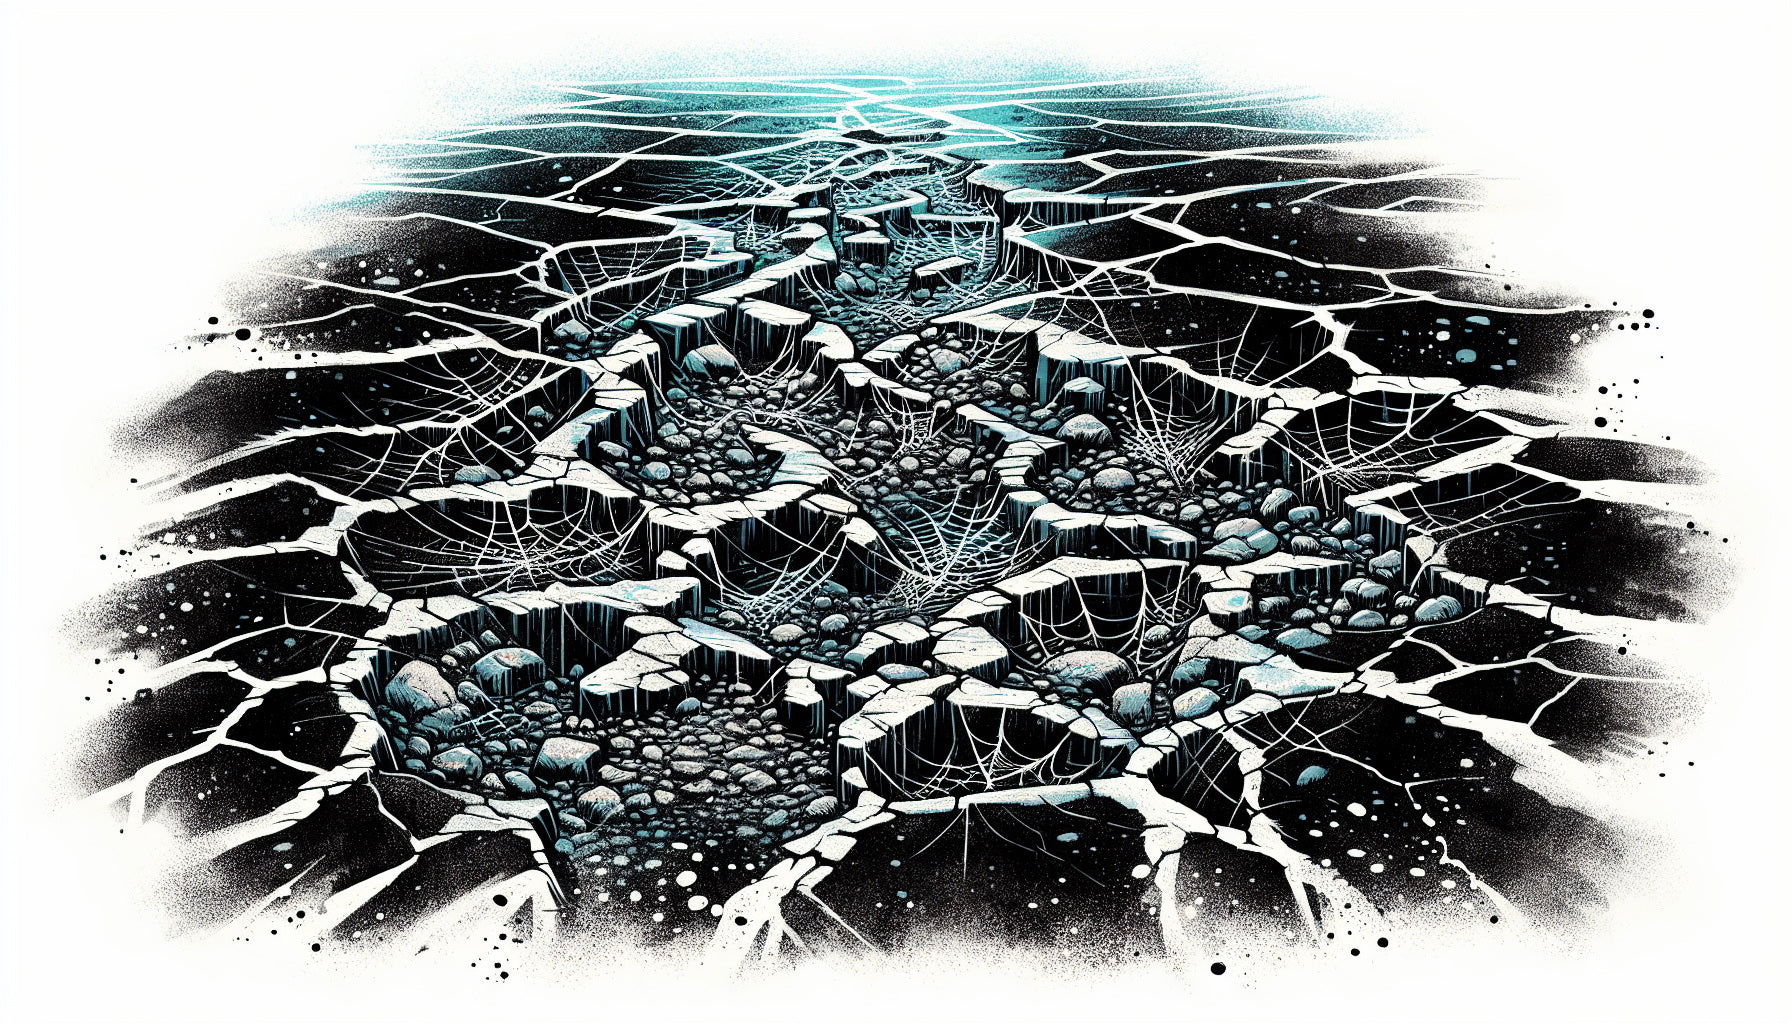
Identifying Cracks and Potholes
Consistently inspect your asphalt driveway for damage, such as cracks and potholes, during the flourishing spring and brisk fall seasons. By keeping a watchful eye out twice annually, you can identify these disruptions early on—ranging from minor hairline fractures to larger, more threatening potholes—and address them swiftly before they grow. Acting quickly against these signs of wear is crucial in stopping the progression of deterioration in your driveway.
Evaluating Asphalt Layer Thickness
Delving into the structure of asphalt driveways reveals that the endurance of your driveway is determined by how thick its asphalt layer is. A properly built asphalt driveway ought to have a robust foundation composed of 4 to 8 inches of compacted aggregate, which is topped with a stately 1 to 2-inch veneer of compressed hot asphalt.
By extracting a sample core from within the layers, one can ascertain whether or not your driveway adheres to suggested specifications in terms of thickness. Caution should be exercised. An undernourished thin layer might serve as a weak point, predisposing it toward early onset cracking and entangling you in incessant repair troubles down the line.
Preparing Your Driveway for Repair
Commence the repair process by ensuring your asphalt driveway is completely cleansed. Oil stains significantly hinder adhesion and necessitate removal using potent degreasers or even a concoction of domestic solutions such as dish soap combined with baking soda. A pristine, moisture-free surface enables the sealer to form a strong, lasting bond.
The preparation phase for refurbishing your entire driveway demands meticulous cleaning—every bit of debris and weeds must be eradicated from both the edges and main surface to ensure that repairs take hold effectively.
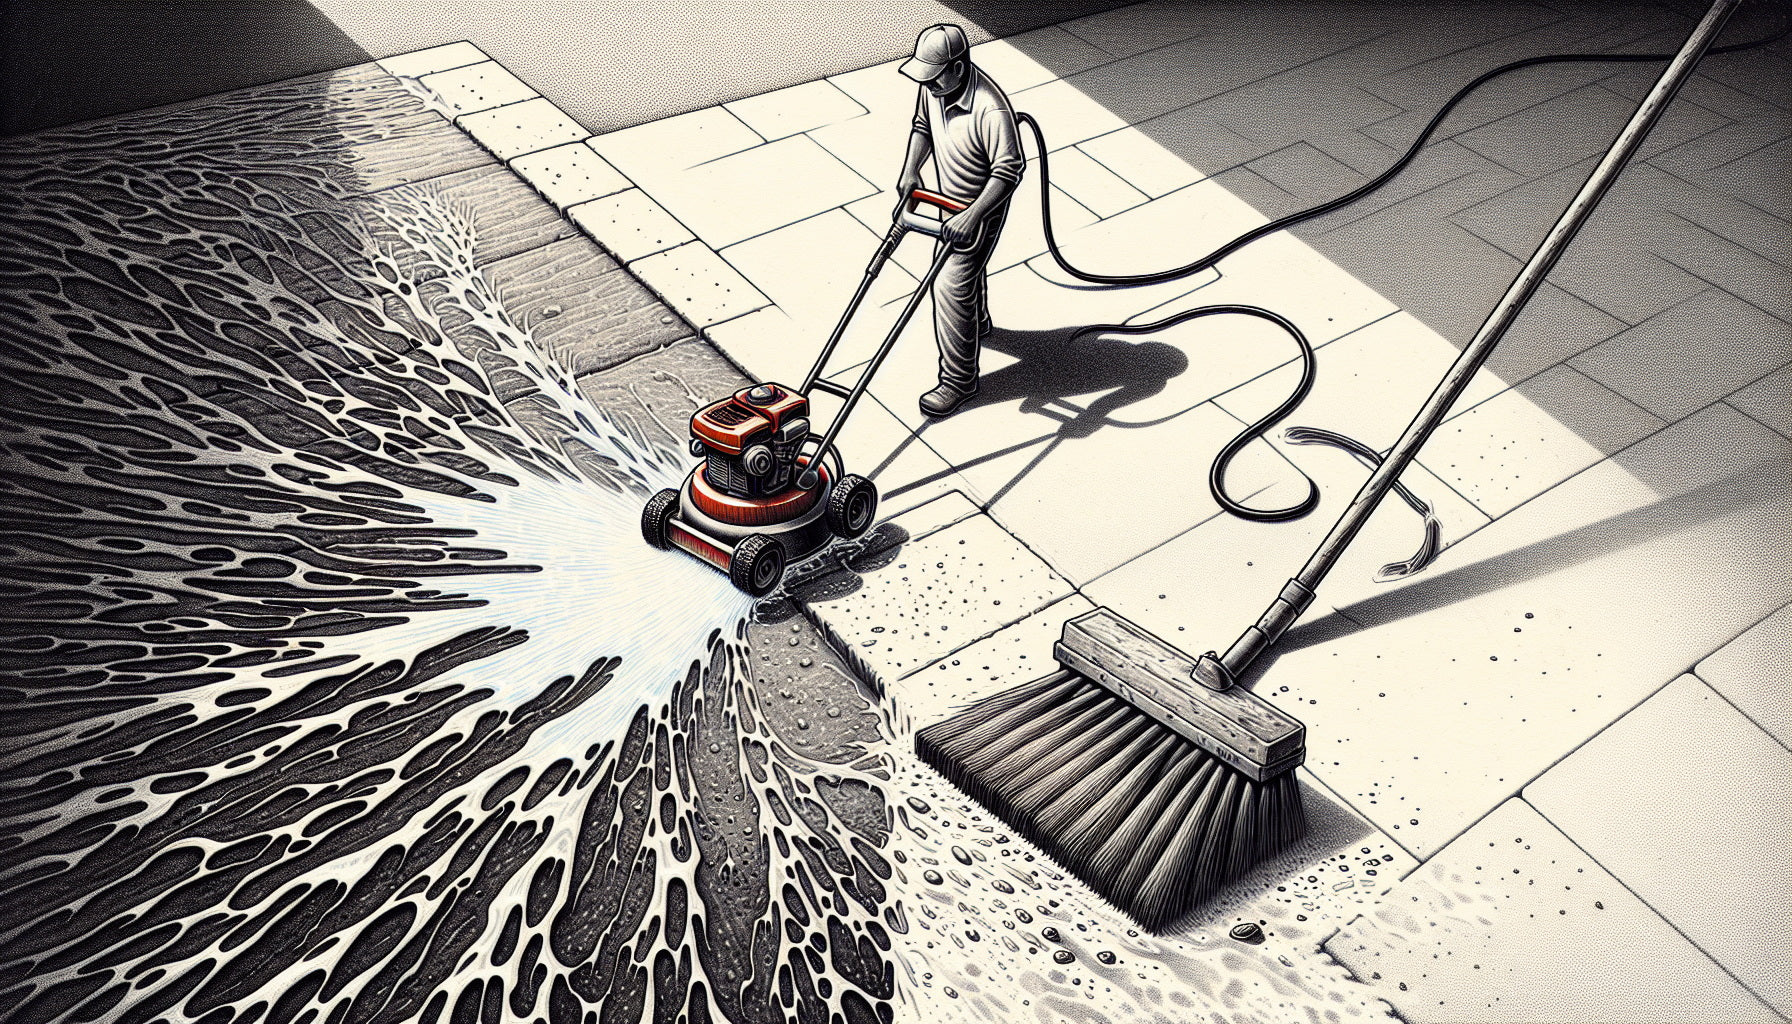
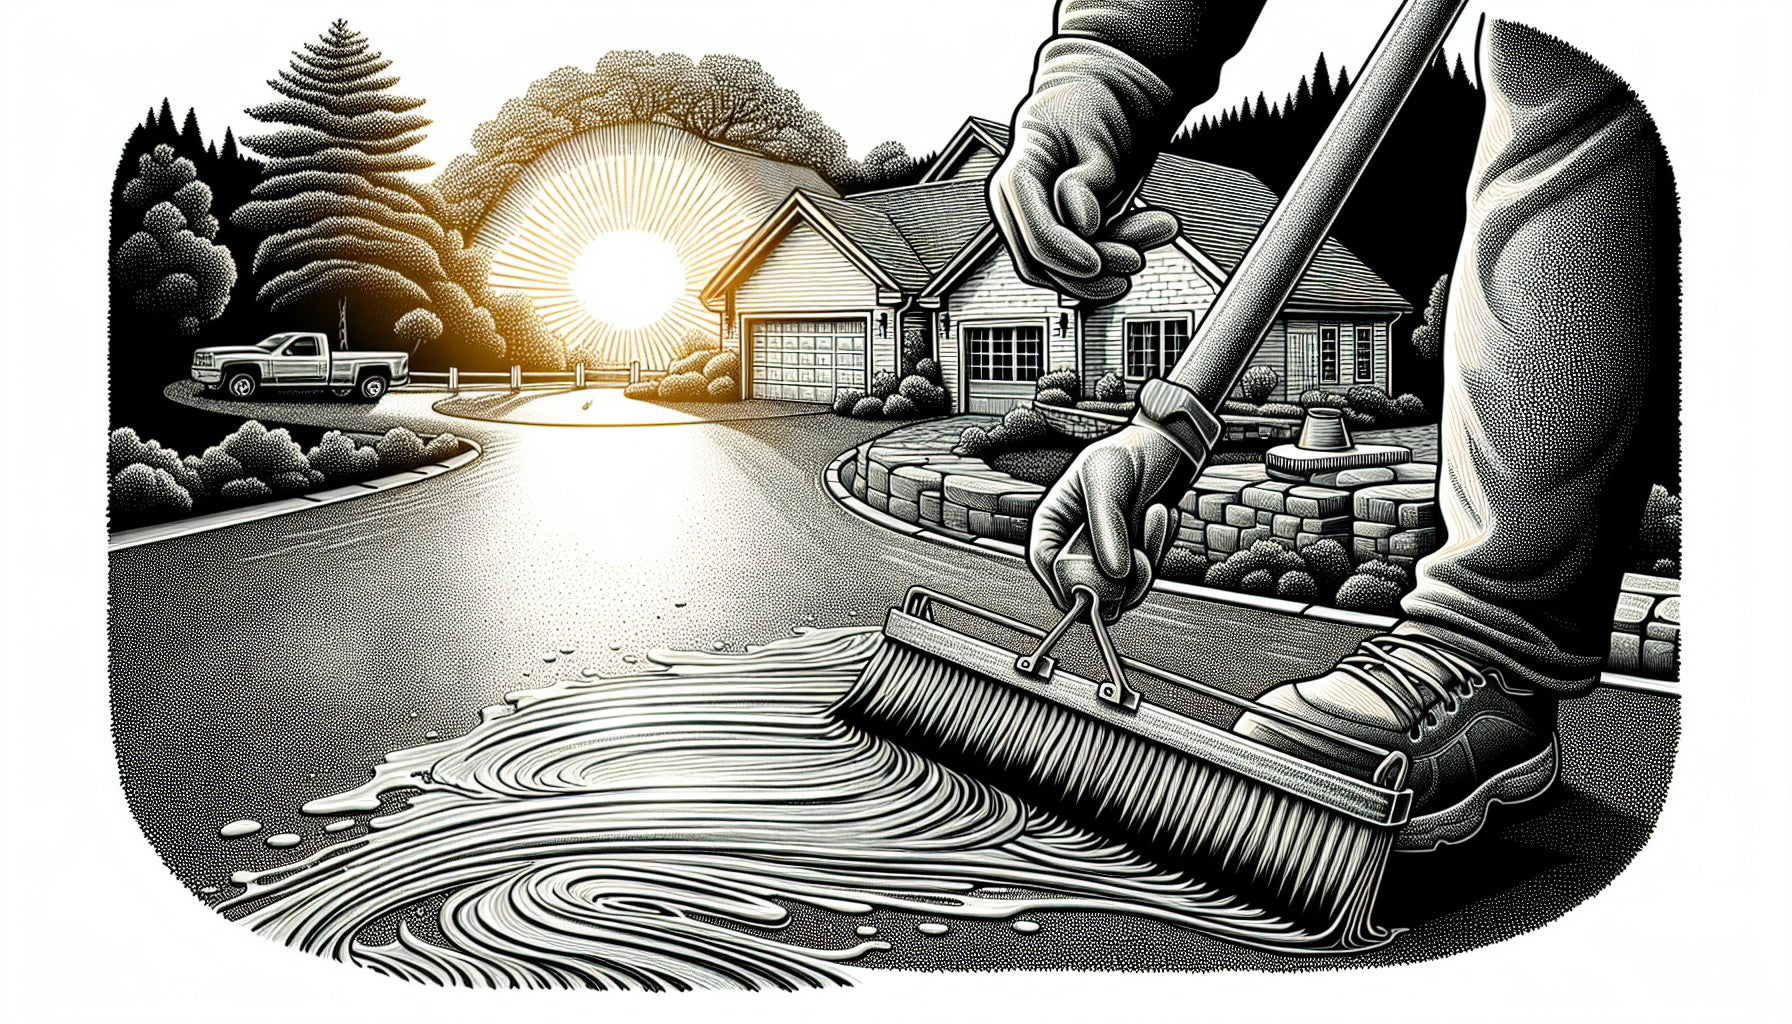
Cleaning the Surface
Starting with the powerful force of pressure washing, your driveway is purged, flushing away layers of accumulated grime from the asphalt’s surface. Following this deluge, a steadfast stiff push broom becomes an indispensable partner in your cleaning arsenal. It relentlessly scrubs away any lingering dirt and debris to ensure that the driveway reflects nothing but pristine cleanliness that matches your purposeful dedication.
Removing Weeds and Roots
Uproot the defiant weeds completely from the earth that they grasp. Remove these unwanted plants with determination and a strong hold to ensure their roots do not remain, for this will thwart their persistent resurgence. If you are inclined to avoid physical exertion, nature provides her own remedies—a mixture of vinegar, dish soap, and salt or a dousing with boiling water can serve as natural weed killers. For an approach similar to craftsmanship, applying baking soda can desiccate the intrusive flora without reliance on harmful chemicals. Alternatively, if one prefers a straightforward strategy, employing a garden hose can effectively dislodge the proliferating green invaders.
The objective remains clear regardless of your method of choice: cleanse every crevice in your driveway from all traces of botanical interlopers.
Repairing Cracks and Potholes
Don’t overlook any cracks or potholes on your asphalt driveway. It’s essential to fix these issues accurately using top-notch materials for driveway patching. Your toolkit should include premium hot-melt crack filler and superior hot asphalt patch material to ensure a professional-grade repair for your driveway.
Keep in mind that the timing of these repairs is just as important as using high-quality materials. Addressing small damages quickly can stop them from developing into larger problems.
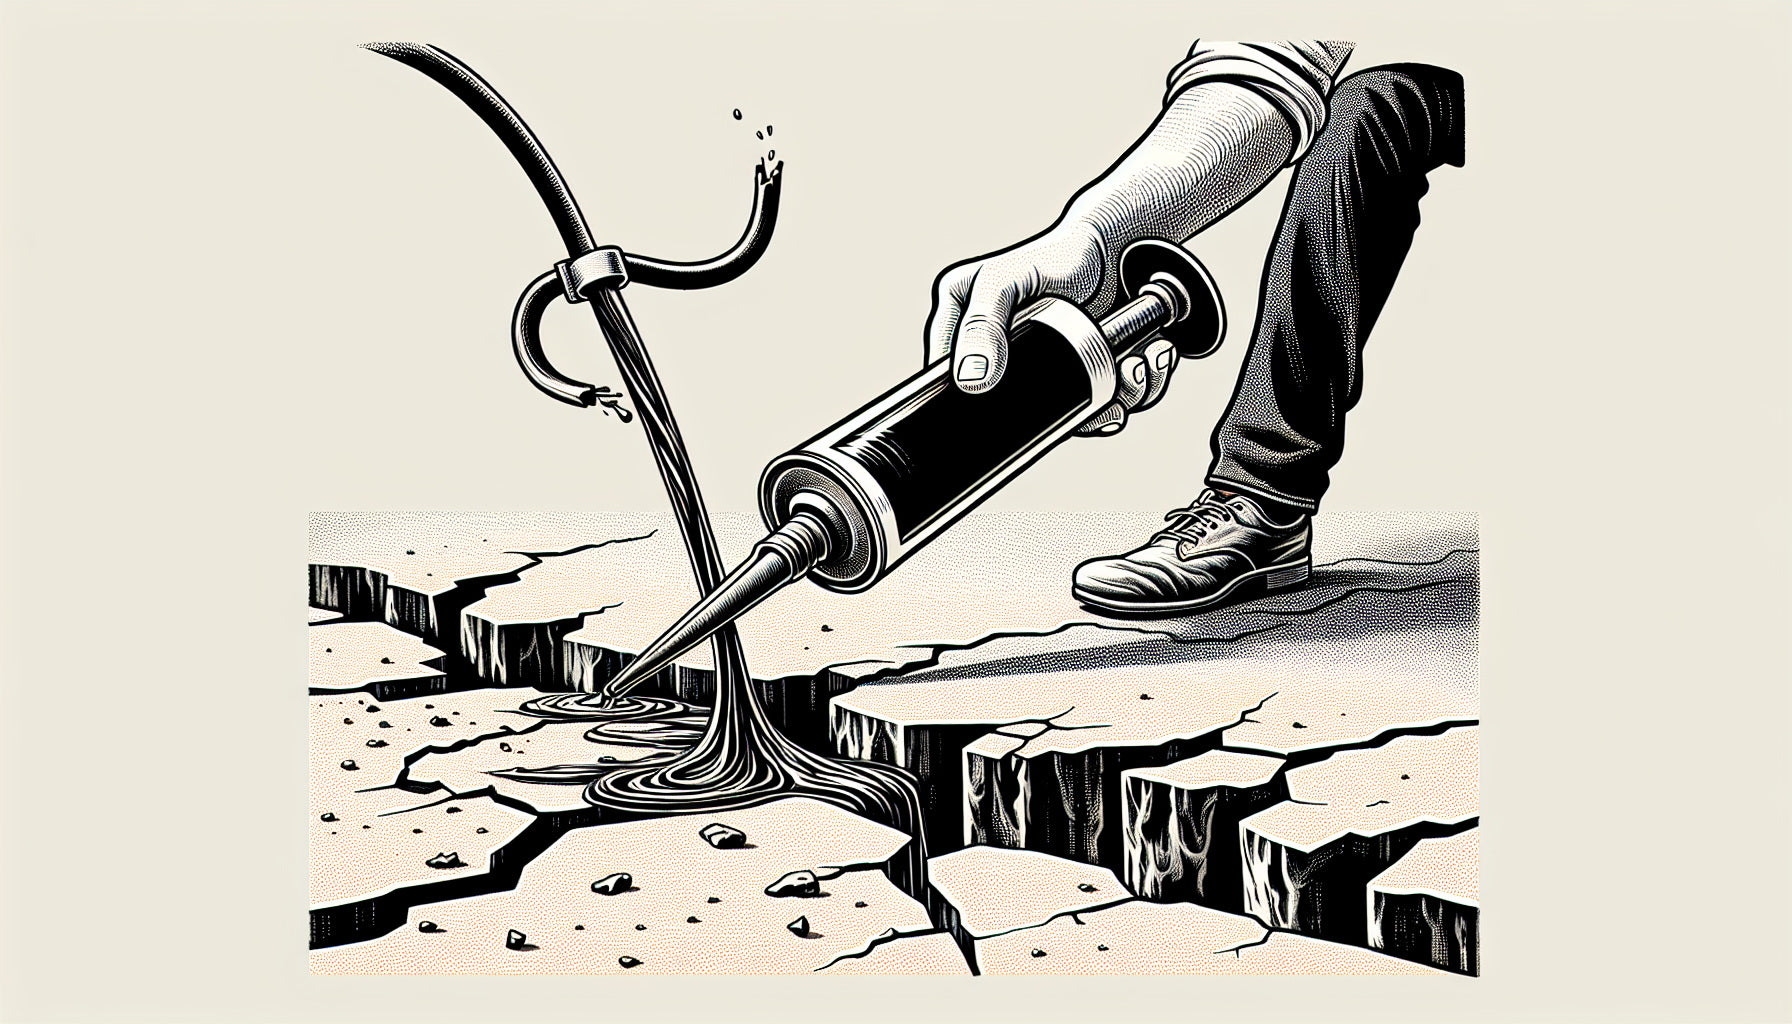
Filling Cracks
Employing a rubberized asphalt crack filler is essential when you aim to mend the crevices in your asphalt surface. This material is crafted to adeptly handle various crack sizes, even accommodating those up to half an inch wide. Whether using a caulking gun or pourable squeeze bottles, these tools enable you to adeptly apply and seal cracks with great precision, creating a durable bond between the filler and existing asphalt.
It’s critical to consider the ambient temperature because for optimal curing and resilience over time. This crack filling substance requires conditions of at least 45°F. After administering the filler into cracks, use either a squeegee or trowel—these implements assist in smoothing out the material so that it blends indistinguishably with its surrounding landscape of original asphalt.
Patching Potholes
Potholes, the bane of any driveway’s surface, must be combated with a reliable cold asphalt patch. This material clings tenaciously to both moist and arid surfaces alike, proving itself an essential element in your pothole repair toolkit. Its composition is fortified with asphalt polymers that resist the capricious nature of weather conditions whether applied to asphalt or concrete terrains.
Embarking on a pothole repair endeavor requires no complex incantations—merely prepare the area, apply the filling material generously, and ensure it is well compacted. A tack coat isn’t necessary. Just pure resolve and brute strength are sufficient for this task. Armed with tools ranging from simple hand tampers to utilizing vehicular weight such as truck tires can aid in pressing down the mix firmly into place whereupon it immediately stands ready for use—a true monument to your laborious effort.
Sealcoating Your Repaired Driveway
Following the completion of repairs, it’s crucial to apply a final sealcoat as a protective layer on your asphalt driveway. This coat serves as armor against the detrimental effects of sunlight and precipitation. It also fills in tiny cracks that might otherwise go unnoticed, while imparting an attractive shine to your driveway surface. To maintain optimal protection for the asphalt, this important ritualistic coating should be applied consistently every two or three years—maintaining its defensive qualities and extending its lifespan.
Once you’ve ensured that the driveway is thoroughly cleaned of contaminants and grease spots, proceed with applying a water-based acrylic sealer specifically designed for such surfaces. For small areas requiring touch-ups, hand-application of two thin layers is suggested to guarantee proper drying and effective coverage. Adding sand may provide additional grip underfoot, which can be particularly beneficial on inclined driveways.
Choosing the Right Sealant
In the realm of sealants, there’s an option available for every type of driveway protection required. Oil-based varieties present an eco-friendly and economical shield capable of protecting your asphalt driveway for a span up to four years. On the other hand, asphalt emulsion sealers provide robust defense against wear but may succumb to oil and gasoline stains.
For those seeking extensive durability, latex acrylic sealers stand out by providing a formidable barrier that lasts for ten years and offers resistance to UV rays. They come at a steeper cost and require the expertise of professionals for application.
Applying Seal Coats
Administering a seal coat to your driveway effectively armors it, demanding meticulous application. Utilize a roller applicator as an extension of yourself to lay down the sealant with finesse and exactitude. A duo of slender, consistent coats guarantees that upon curing, the finish is immaculate and mirror-like.
Exercising restraint ensures each individual thick layer dries thoroughly before affixing another atop it. Rushing risks marred surfaces and compromised adhesion. While there might be an attraction in laying on one hefty coat for expediency’s sake, remember the superiority lies in deploying twin svelte layers instead of opting for several thinner ones.
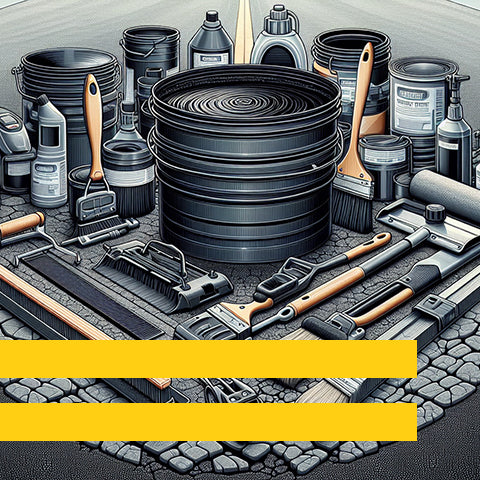
Tools and Materials for Asphalt Driveway Repair
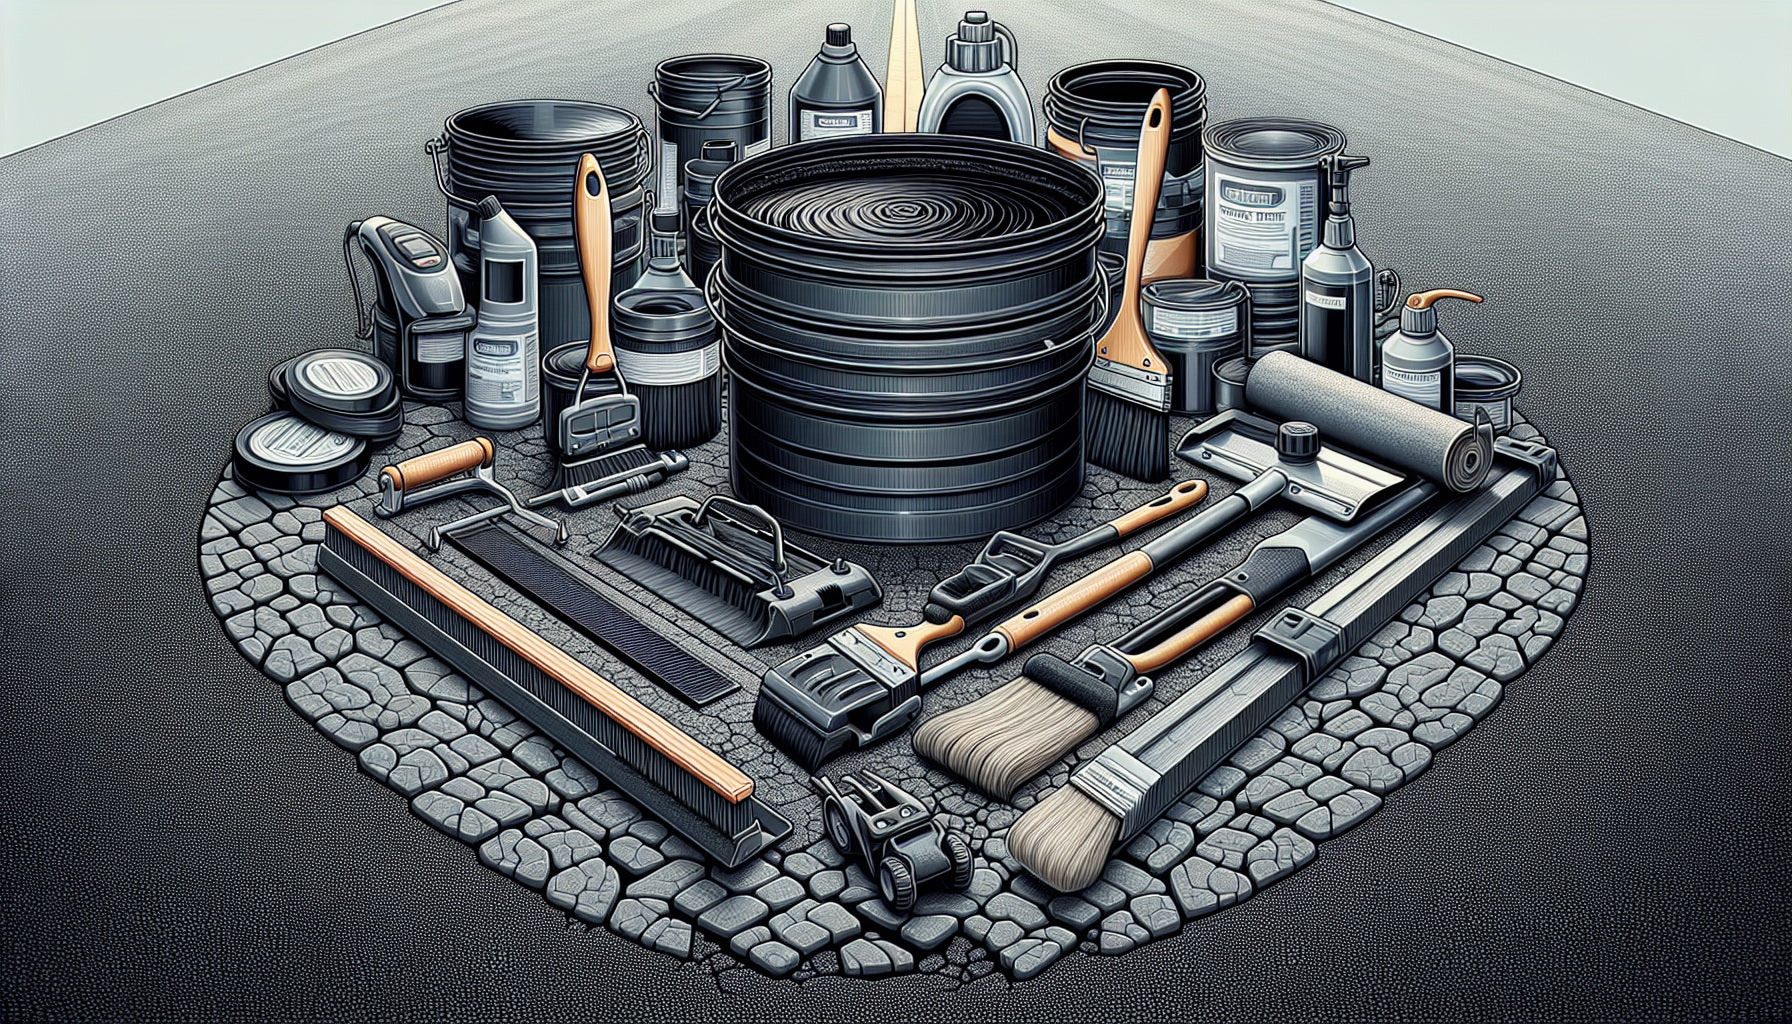
Maintaining an asphalt driveway effectively requires the use of appropriate tools and materials, much as a knight relies on his armor and sword. These essentials form the basis of any repair work that is to be undertaken. Here’s what you should consider procuring:
- For filling in slender crevices, it’s advisable to choose crack fillers either designed for caulk guns or those available in pourable squeeze bottles.
- In cases where you’re dealing with more substantial separations, employing hot mix asphalt heated up to 375 degrees will create a bond comparable to fortress defenses.
- The type of pavement at hand, extent of damage suffered by your driveway cracks, regional climate conditions, and anticipated vehicle load must all influence your decision when picking out cold pour filler—thoughtful selection here aligns you with the finest material for repairing needs.
Arm yourself beforehand with essential instruments such as a painter’s multi-tool (5-in-1), robust push brooms or stiff brushes for surface preparation. Diamond-tipped circular saw blades, manual tampers, shovels. And squeegees meant for sealer application stands crucial in this endeavor. These revered implements shall support your undertaking ensuring both the process unfolds seamlessly and yields results mirroring desired smoothness levels across your repaired driveaway surfaces.
Tips for Ongoing Asphalt Maintenance
Maintaining asphalt is a continuous endeavor that, if performed correctly, can both significantly extend the life of your driveway and boost the aesthetic appeal of your residence. Just like ancient scholars meticulously documented history for guidance, keeping detailed accounts of previous care and current state of your asphalt can provide invaluable insight for strategizing future upkeep procedures.
Regular Inspections
Employ the PASER Scale, akin to how seasoned generals interpret landscapes to predict battle results, to evaluate the state of your driveway. This instrument empowers you with a trained vision for detecting indications of deterioration or impairment on your asphalt territory, unveiling its actual condition.
Timely Repairs
Address minor issues such as slight cracks and blemishes early on to avert them from escalating into major concerns. Once significant deterioration occurs, with widespread cracking and the development of potholes, seeking professional intervention becomes essential to salvage your asphalt’s integrity.
Tackle these problems at their onset to reduce the chance that they’ll transform into daunting challenges endangering the stability of your driveway.
Summary
We’ve journeyed together through the annals of asphalt driveway repair, from the vital first steps of evaluation to the crowning act of sealcoating. Remember, the path to a durable and captivating driveway is paved with regular inspections, vigilant repairs, and protective sealcoating. By embracing these practices, you’ll not only ensure the longevity of your driveway, but also uphold the aesthetic integrity of your home. Let the knowledge imparted here serve as your guide, and take pride in the craftsmanship that will see your driveway stand the test of time.
Frequently Asked Questions
How do you fix a crumbling asphalt driveway?
To repair a deteriorating asphalt driveway, first utilize a wire brush to remove debris from the cracks. After cleaning the pavement thoroughly, apply filler into these prepared spaces and then cover with a sealant to secure the fresh asphalt in place.
Should I resurface or replace my asphalt driveway?
It is advisable to think about installing a new asphalt driveway when the current one has been in use for around 20 years, because over time, the expense of repairing it might surpass that of putting in a new one.
While resurfacing your driveway might seem like a more economical option initially, opting to replace it entirely could prove to be financially prudent over an extended period.
Can you fix cracked asphalt driveway?
Yes, you can fix cracked asphalt driveway by sealing cracks, troweling on patch material, filling potholes, and surface sealing it using readily available tools and materials.
This can extend the life of your driveway.
Will new asphalt stick to old asphalt?
Indeed, by employing a method known as “asphalt overlay” or “resurfacing,” fresh asphalt can bond to older asphalt. This is conditional upon the preexisting asphalt being structurally sound and all holes or cracks having been fixed prior to the process. A tack coat is applied during this procedure to ensure that the new layer of asphalt properly adheres to the existing surface.
What is the best way to fill driveway cracks?
To effectively address cracks in an asphalt driveway, it’s advisable to employ a rubberized asphalt crack filler. This can be administered using either a caulking gun or a pourable squeeze bottle. Prior to application, ensure that the surface is free of debris and that the ambient temperature stands at no less than 45°F for optimal results.